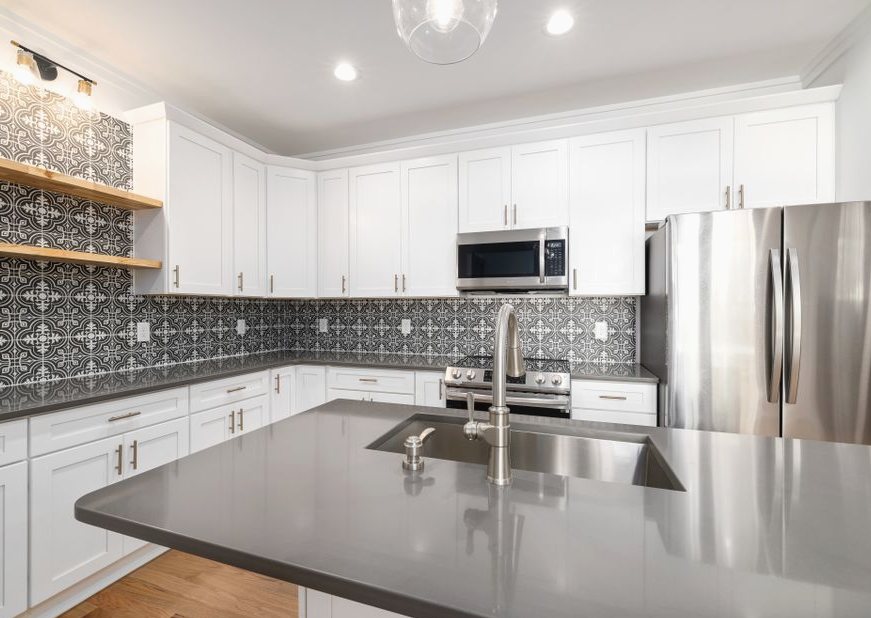
Tile, Size, and Where the Lines Land
Size drives the layout. A small subway tile and a large-format tile on the same wall give two different layouts, and the number of joints you wipe for years changes with it. Pattern comes next: stacked, offset, or a mosaic sheet with the pattern already printed in. We settle all three together, because picking the tile first and the size second is how people end up with a layout they don't want.
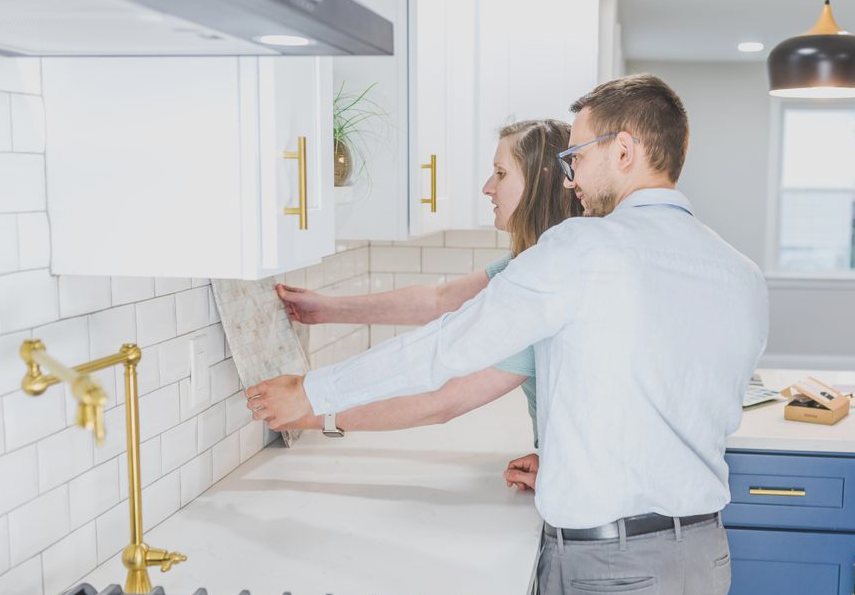
Then come the visible decisions. Does the tile center on the range or on the window? Those two answers put different cuts at the ends of the run. Does the splash stop at the underside of the uppers, or run higher where there are no uppers? Inside and outside corners matter too, since that is where a pattern turns neatly or doesn't. We work these out with you on the wall before anything is set, so you see where the cut tiles land instead of finding out afterward.
What We Look at Before Setting Starts
Counters and walls are rarely straight, so we check the height in more than one place. The gap between counter and uppers can change across a single run, and that decides where the first full course sits and how much the top row gets trimmed.
We also count the cuts. Every outlet, switch, window trim, cabinet end and corner is a cut, and cuts are what eat a day. One outlet on a straight run costs us far less time than the same square footage wrapped around a window with two outlets and an outside corner.
Then we look at what is on the wall: painted drywall, an old splash that has to come off, or bare substrate left by a remodel. Each needs different prep. Old tile comes off first, and the wall gets brought back to something flat enough to set on.
The Set, the Grout, and the Line at the Counter
We comb thinset onto the wall with a notched trowel and press the tiles in, using spacers to keep the joints consistent from course to course. The spacers stay until the thinset has dried. Pulling them early is how joints wander.
Grout goes in with a float, worked across the joints, and the tile faces are cleaned with a damp sponge. That cleanup is most of why a mosaic sheet takes longer than large-format tile: same wall, far more joints to fill and clean. The last step is the line where the splash meets the countertop, which gets caulk, not grout. It is the one line on the job people notice when it is done badly.
What the Labor Runs and What Moves the Number
Professional installation labor typically runs $5 to $20 per square foot. That excludes grout, adhesives and other installation materials, which are separate from the labor figure. We'll talk through the typical range on the call, and the exact number is confirmed once we've seen the wall.
Several things move the price inside that range. Square footage is the base, but cuts per square foot drive the day: a plain run with one outlet is quick to cut and set, while a wall broken up by a window and several corners takes far more time per foot and prices higher in the range. Small-format tile and mosaic sheets cost more because of the extra joints. Removing an existing splash and patching the wall first is added time unrelated to the tile you chose, and it goes on the quote as its own item. Height counts as well: tile running the full wall behind a range is more area and more cuts around whatever is mounted there.
When It's Time
The signs are consistent. The painted wall behind the range takes grease and no longer wipes clean. Grout has gone dark, cracked or dropped out. A tile has come loose and sounds hollow when tapped. The caulk line at the countertop keeps failing no matter how often it is redone, which usually means water is getting behind the splash, not just past the bead.
Dark grout in a dry inside corner can wait until you're ready. A loose tile or a caulk line that keeps letting go means water is getting in behind the wall, and we don't recommend leaving that.
Storm exposure in Castle Rock is low, so weather isn't what wears out a backsplash here. Cooking grease, steam and sink splash do it, day after day, and the tile and the caulk line at the counter take that.
What to Expect
In practice, this is what gets done:
- Press tiles into the thinset and use spacers to keep the grout joints consistent; let the thinset dry before removing the spacers.
- Apply grout to the joints with a float, clean tile faces with a damp sponge, and finish the bottom edge where it meets the countertop with caulk.
Other Services We Offer
What It Typically Costs
These ranges show roughly what this work costs, and yours gets its own written price once we've seen it.
$480–$1500
$15–$40 per sq ft
No-Pressure Estimates
(720) 640-0950A short call is usually enough, and you decide what happens next.
Get an Estimate